 |
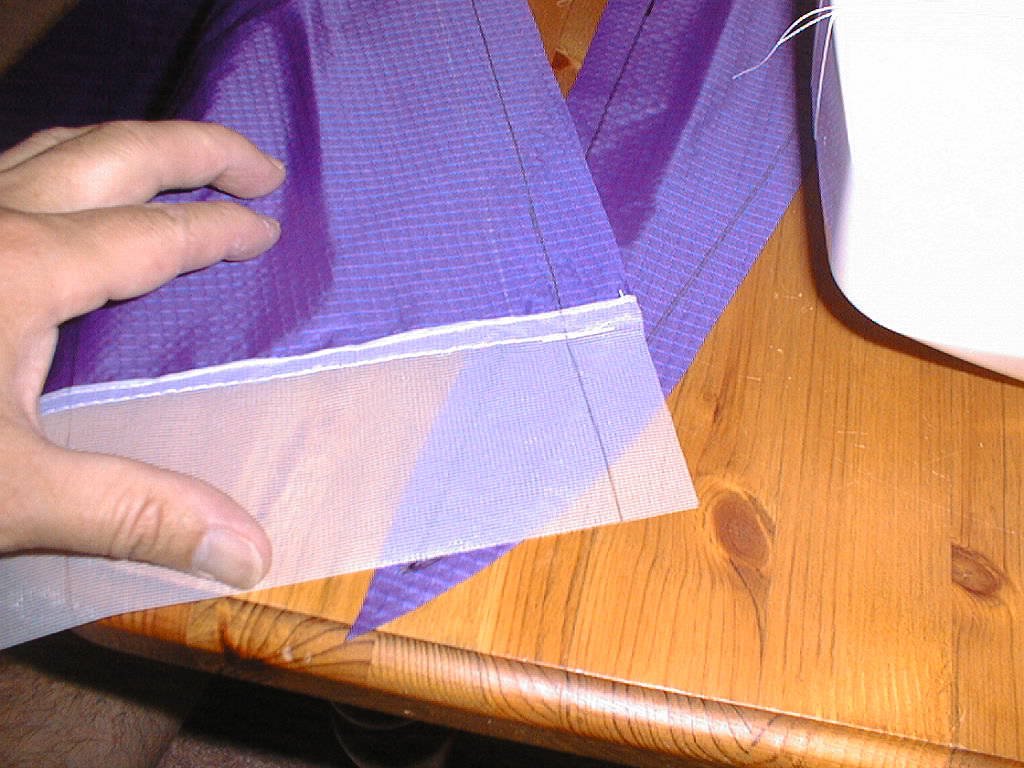
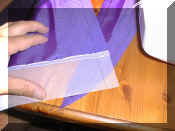
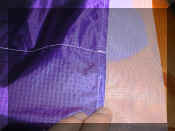
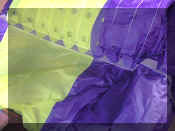
This is a 1.6m Eliminator, showing the mesh sewn onto the
inside of the bottom skin. It is sewn on using a Flat Fell Seam,
details here. There is a rib cut out in the background, and the
sewing lines are marked on the rib and the bottom skin. |
 |
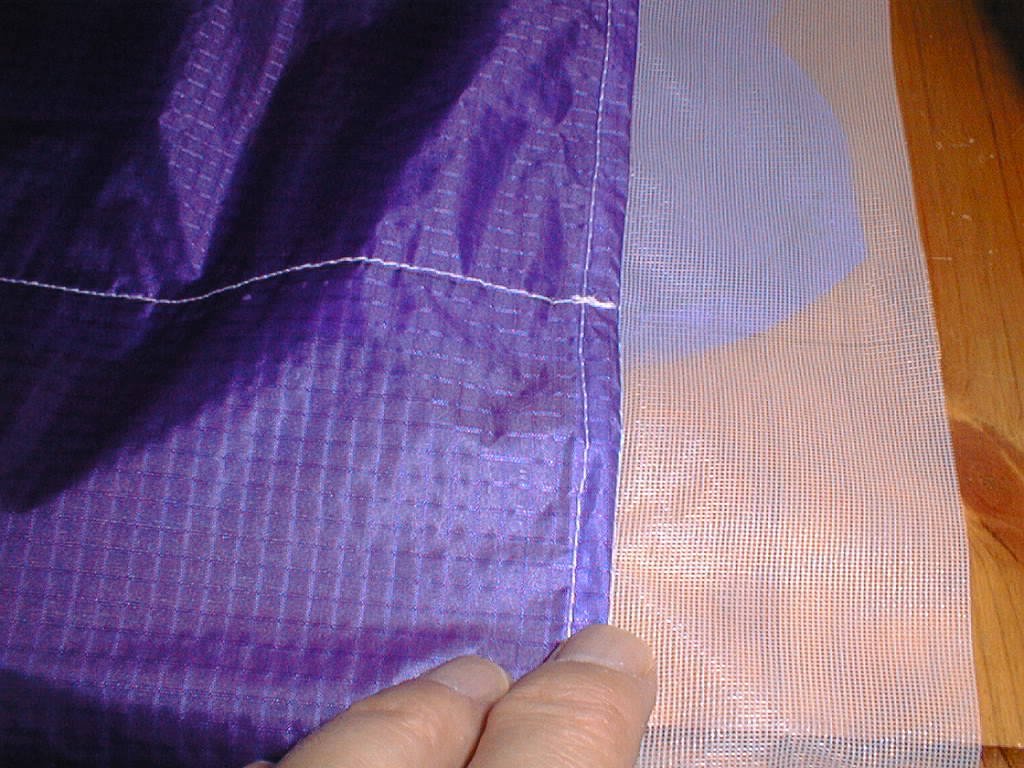
This is the view of the mesh from the outside of the bottom
skin. The white sewing line is where the rib is attached, and you
can see the rib through the mesh. |
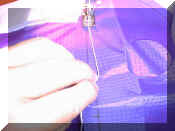 |
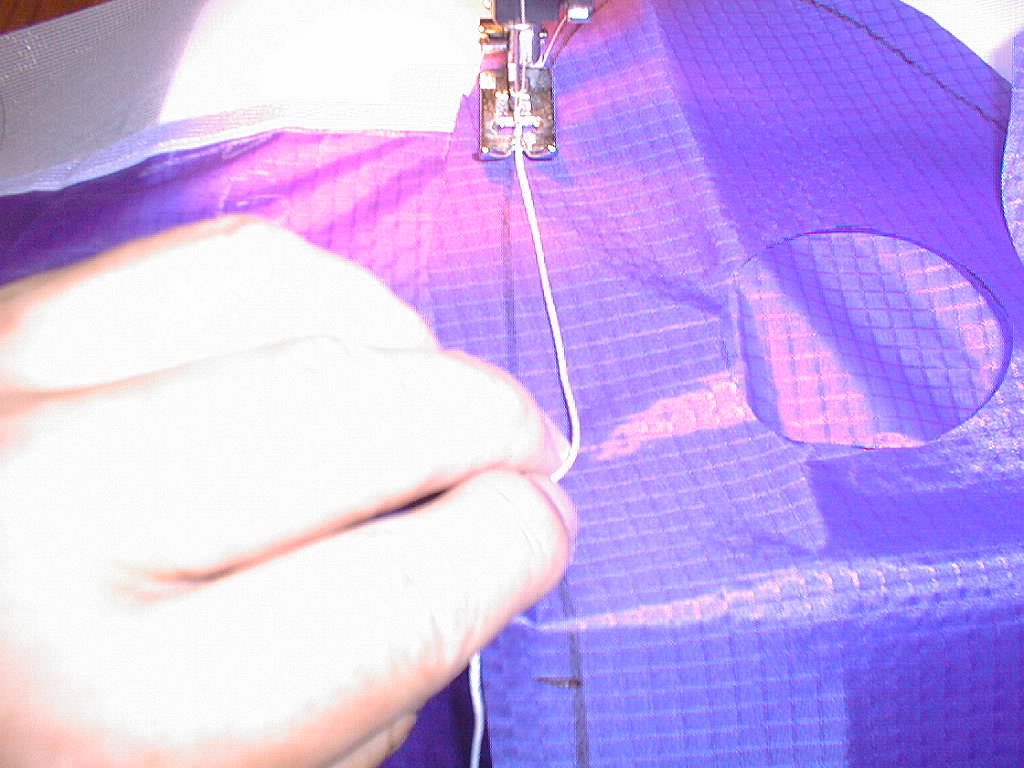
Sewing on a rib, and the reinforcing line on the inside of
the bottom skin. The bridle will come in through the skin, around
this line and back out to be tied. In the early stages, you can use
6mm double sided tape to stick the rib down before sewing it, but with
practice, you will find it simple to sew the rib and line on while holding
them in place - honest! |
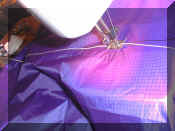 |
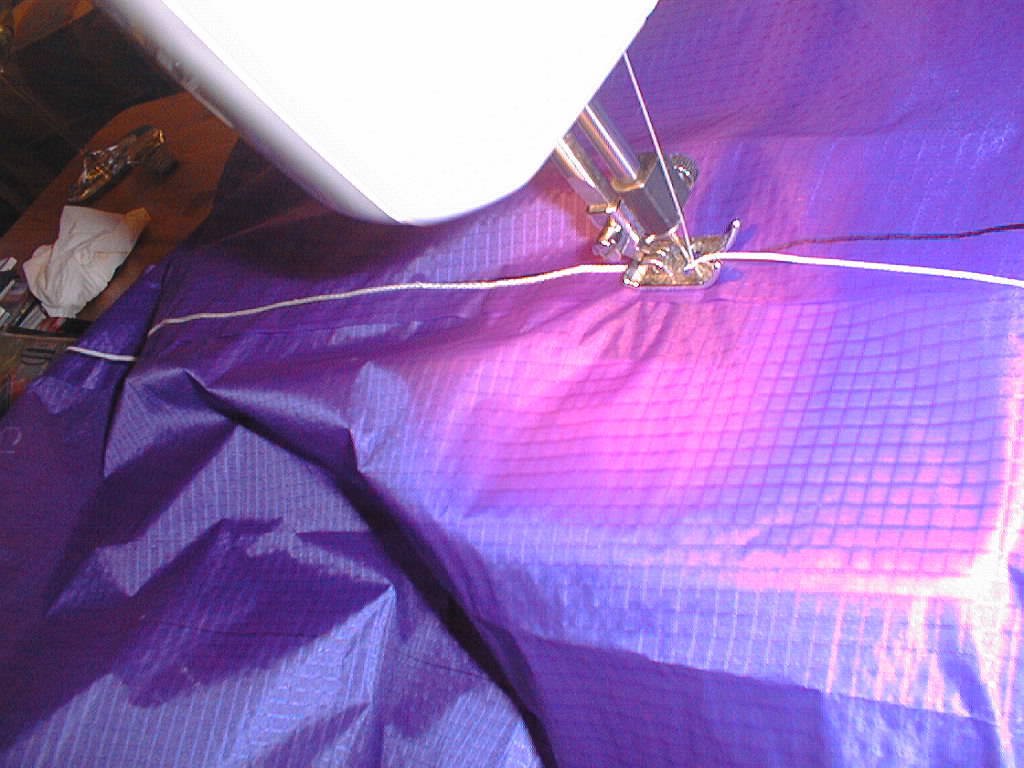
Making progress with sewing on the rib and the line. I
have filed a shallow groove in the base of my sewing machine foot to help
guide the dyneema. This is 75 kg dyneema. |
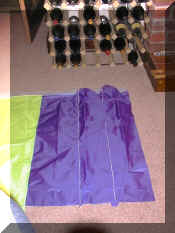 |
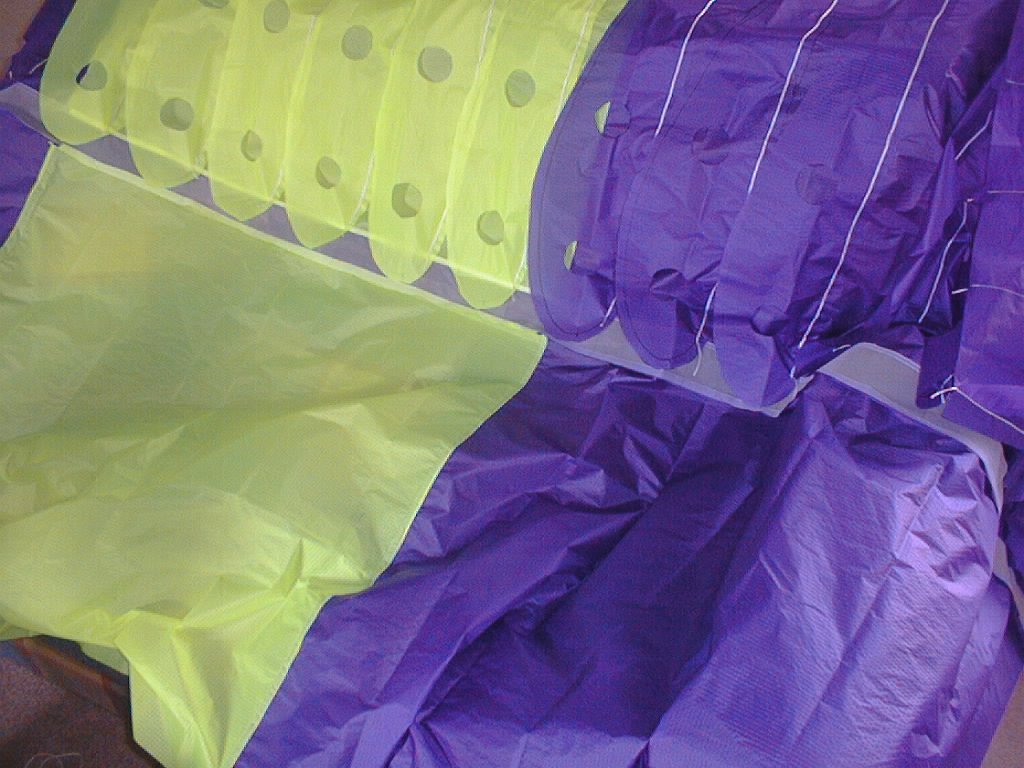
2 ribs on so far. It is easier to make the ribs from a
light coloured fabric. Most sizes of Eliminator have 'Ventrals'
(flaps) on the wingtips, which should be sewn in at the same time as the
end ribs (they are the ones without holes!) and the reinforcing line.
Once all the ribs are sewn on, the top skin needs to be sewn to the
mesh, again using the flat fell seam. |
 |
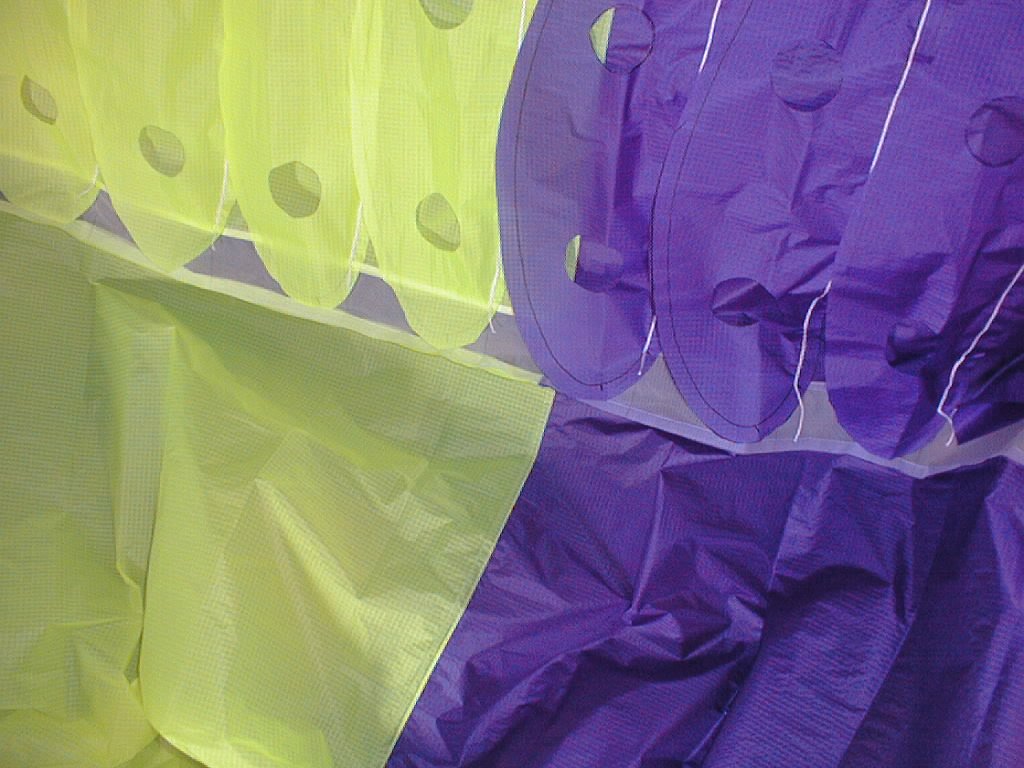
All ribs sewn on, and the top skin sewn to the mesh as
well. The flat fell seam just needs turning and sewing to finish
it. Note the ends of the reinforcing lines; so long as they are sewn
past the 'A' line bridle point, that is enough. |
 |
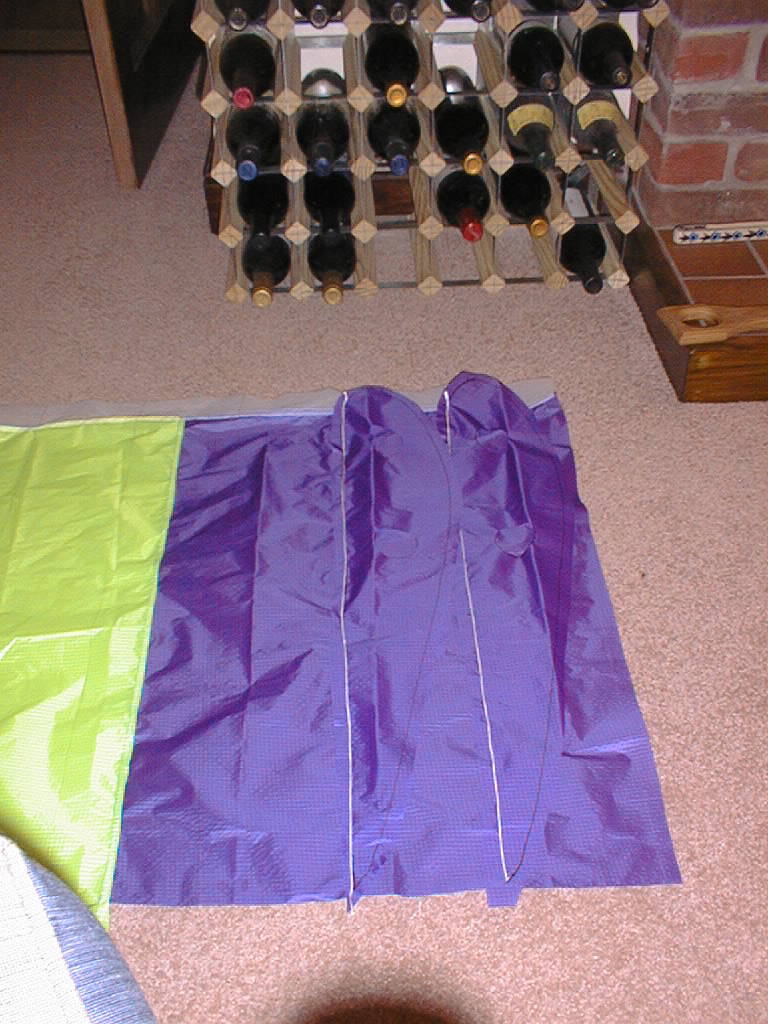
..and this is only a 1.6m kite!
I make up the top and bottom skins first, and don't usually colour code
the ribs, but this one was for Jeff in USA.
All the marking, cutting out and sewing is done on my coffee table and
dining table. |
 |
2.0m Eliminator. You can see the ventral on the far
end quite clearly. |
|
Ventrals
|
There is another page here
to show how I sew in the ventrals at the
same time as the rib and reinforcing line. |