
Repeat for the other end!

Eliminator Ventrals
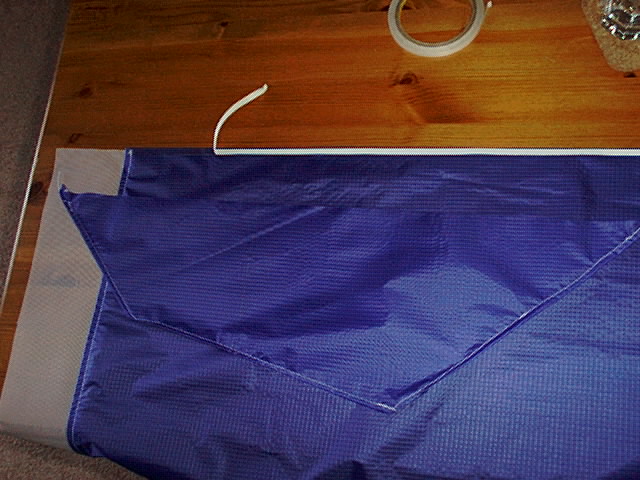
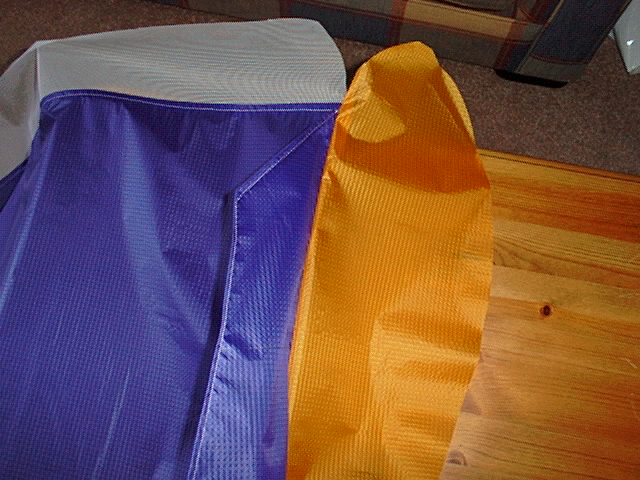
| When I sew the hems, I sew one panel with the hem one way and the other panel with the hem the other way, giving a pair of panels. When I sew them on, I put the side with the hem on it facing into the centre of the kite. | Cut the ventral pieces allowing enough for a hem on the 3 shorter sides, and enough for an overlap on the longer side. I sew a reinforcing line into the hem around the 3 shorter sides, leaving the ends of this line sticking out towards the top. See first pic for details. |
|
|
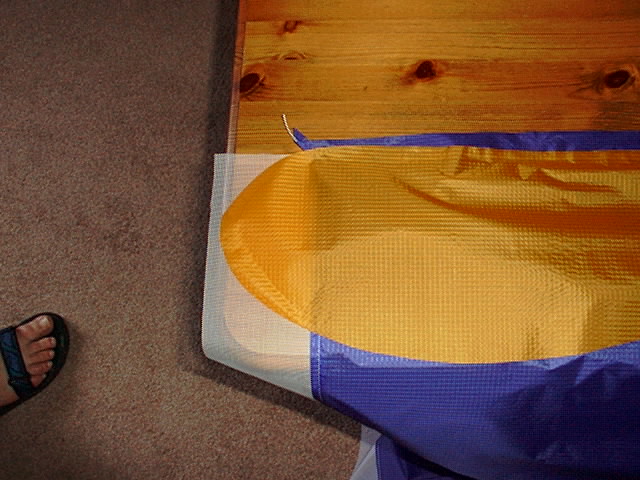
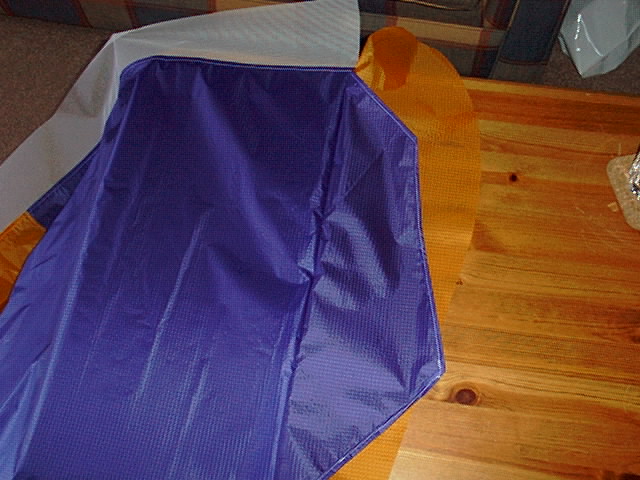
With the outside of the bottom panel of the kite facing up, and the mesh already sewn on, I use 6mm double sided tape to stick the ventral panel along the sewing line. |
|
|
I line the sewing line on the ventral panel up with the sewing line on the kite and stick the ventral down. The narrow end of the ventral goes towards the front of the kite. |
|
|
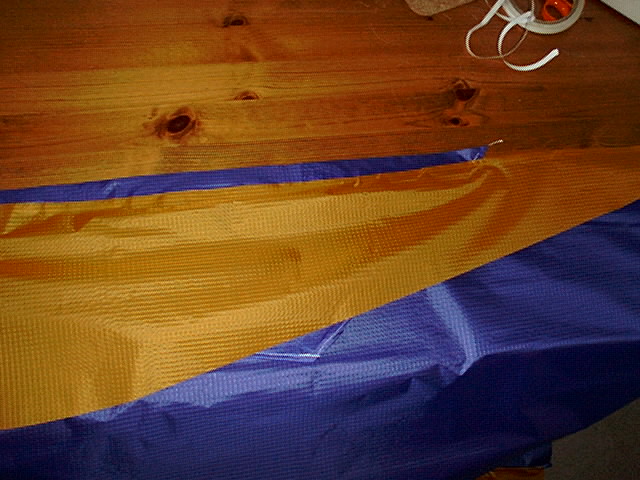
Once the ventral is stuck on, I put on more tape then stick the end rib (without the vent holes!!) on top of the ventral panel. The 'outside' of the rib is face down. |
|
|
Stick the rib all the way along, lining up the sewing lines as you go. |
|
|
Sew along the sewing line to join all three pieces together. The edge of the ventral should be where the mesh starts and where the bridle point would be on the rib. |
|
|
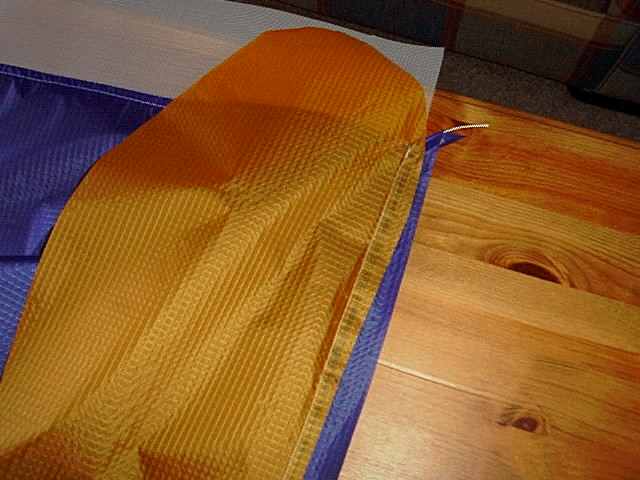
Once its sewn, open the rib panel out... |
|
|
..then the ventral panel as well.
Repeat for the other end! |
|
|
The awesome sketch showing how it goes together!! |