 |
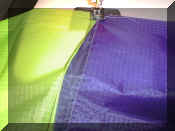
Put the 2 panels face to face, so that what will be the
'outsides' are together and you are working on what will be the
'insides'. Sew a single line of straight stitch along the sewing
line, leaving the seam allowance. |
 |
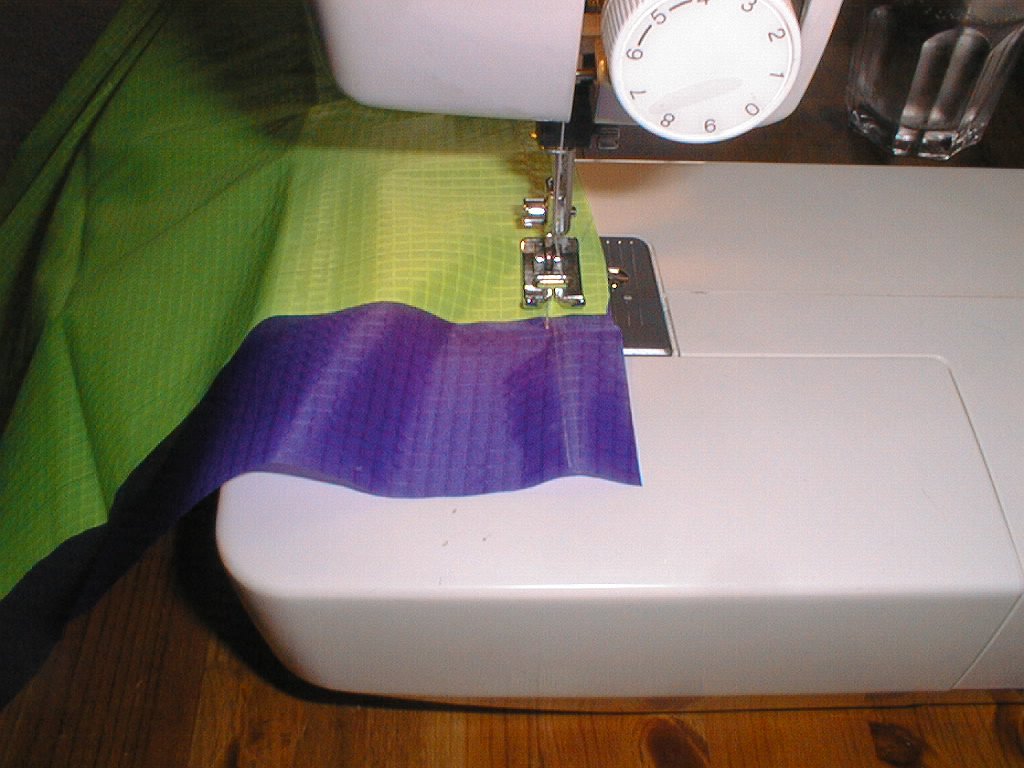
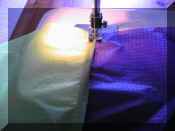
Now open up the 2 pieces and put them 'outsides' down on the
sewing machine, so the seam sticks up as shown. |
 |
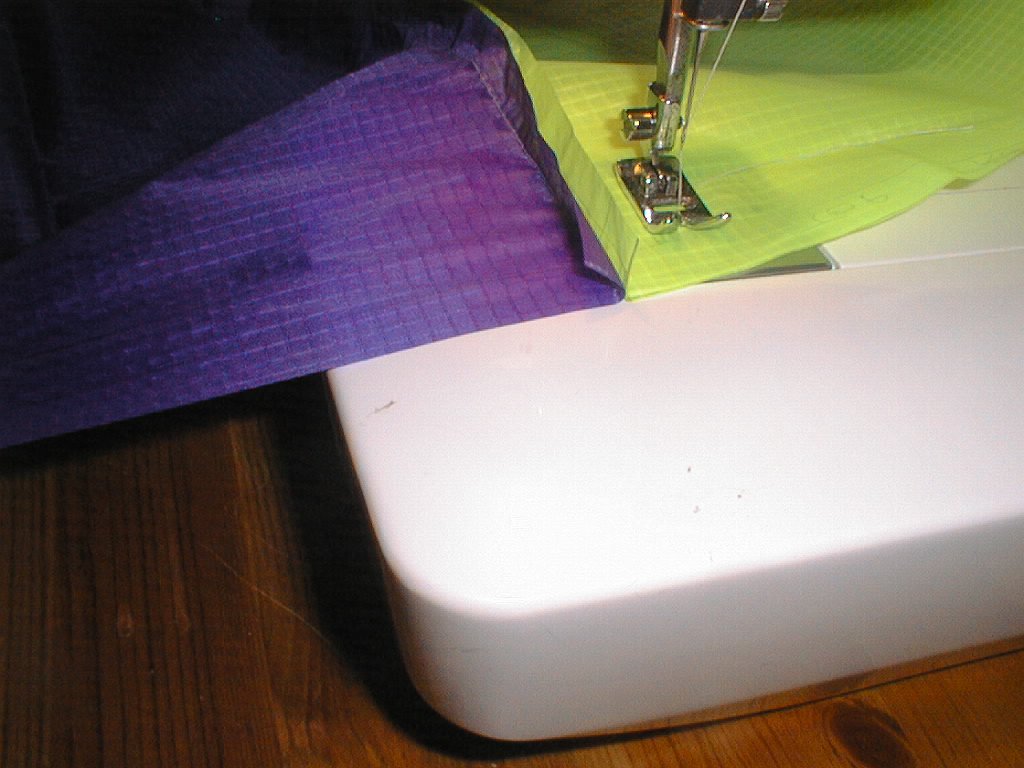
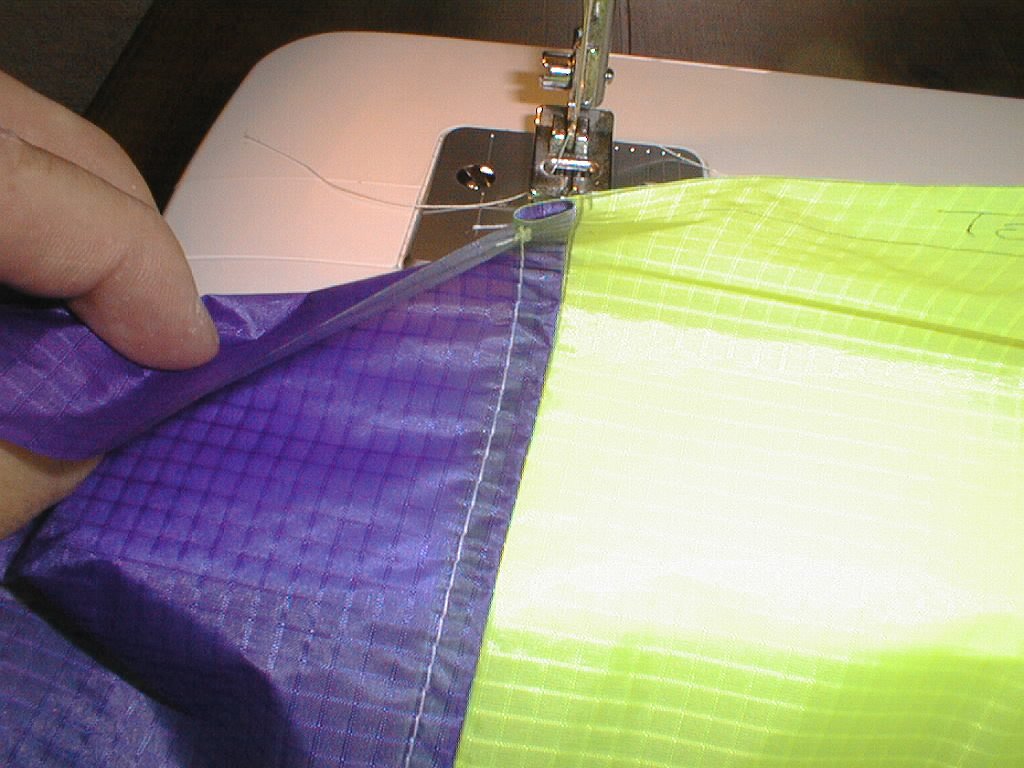
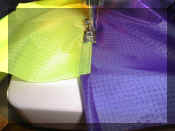
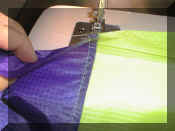
Fold both pieces of seam allowance over to 1 side. (To the left in this example)(Bottom
of this pic) See pic 6 for thoughts on which direction to fold them.
Take the cut edges and fold them back to the sewing line. (To the right in this example)(Top of this
pic. I am using the foot of the machine to hold it in place for the
pic.)
Keeping the edges of the seam allowance on the sewing line, fold the
whole seam allowance over to the other side, giving a nice flat folded
edge. (Over to the right again in this example)
|
 |
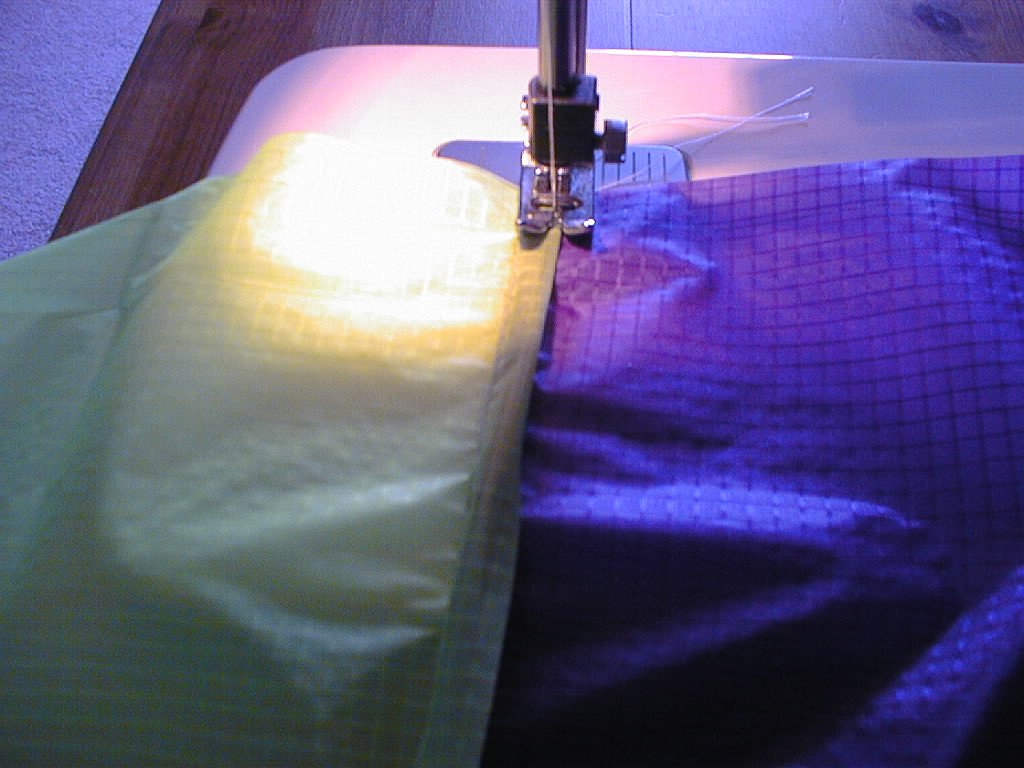
The flat folded edge is where the second row of straight
stitching goes. With my seam allowance, and the double fold, I can
sew the second row of stitches with the edge of my sewing foot on the
original line of stitches.
Make sure you maintain some outward pressure on the 2 pieces of fabric
otherwise you could end up with a 'baggy' seam.
|
 |
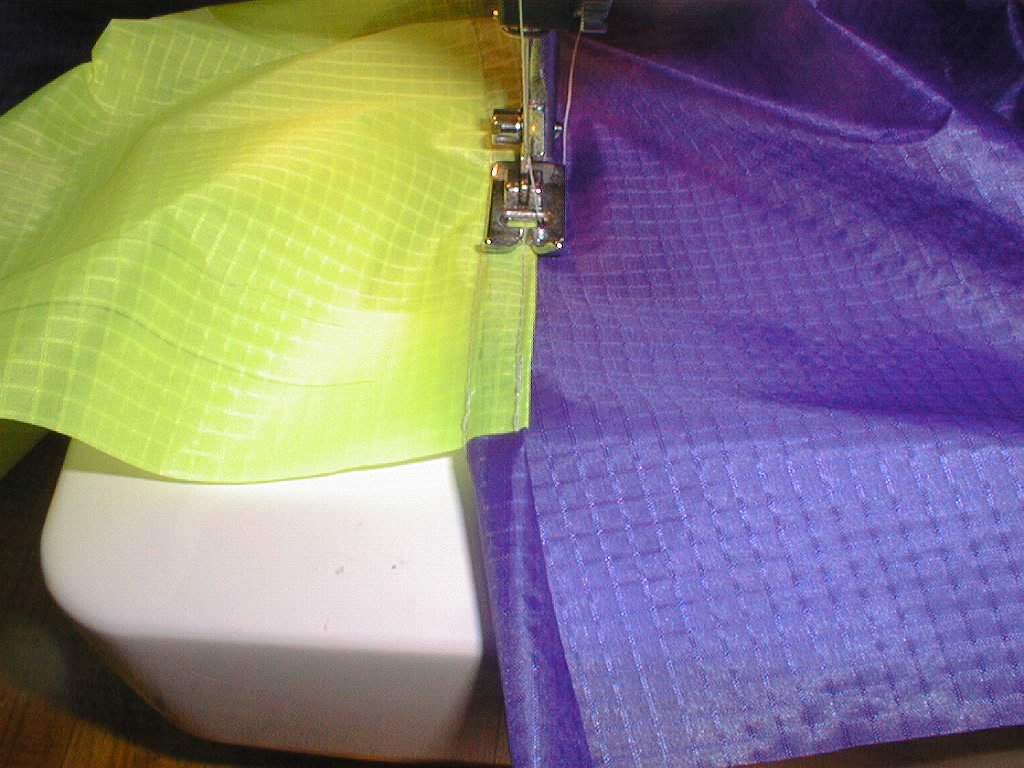
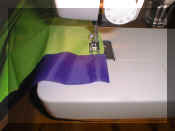
This is the seam completed. I am using the foot to
hold it down for the pic. |
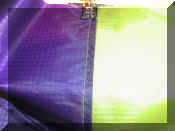 |
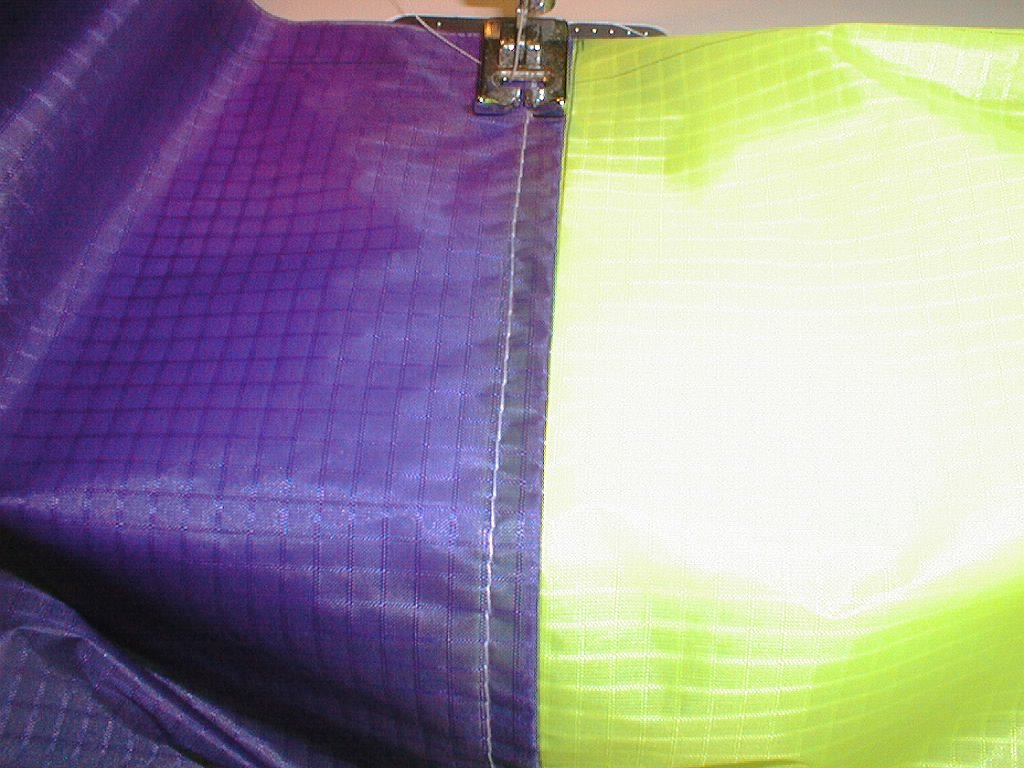
This is the same seam seen from the 'outside' of the fabric
which will be the outside of the kite. If the fabrics are 2
different colours, I usually try and create the seam so that the excess
fabric is on the darker fabric side, up to you. Again, the foot is
only being used to hold things still for the pic. |
 |
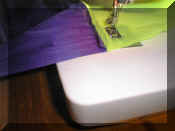
Here I'm trying to show the end on view of the seam.
Once you get comfortable using this technique, it is very quick and I
usually fold the allowances over as I sew, without pre creasing.
|