Go fly!
Bridle board and attaching flying lines
This is not 'rocket' science!
As a rough guide, when I make a primary with a loop at 1 end and
the other end bare, I allow 4-5cms after the mark at the bare end (to be
tied to the kite) and 1cm for the knot plus 4-5 cms for the loop at the
other end. I say 4-5 cms as it depends how nimble your fingers are at
tying
the loops and knots. So as a guide, allow 10cms extra for every primary.
For the secondaries, which have a loop at each end, I allow 1cm for each
knot plus 4-5cms for each loop, giving approx. 10cm extra for each secondary
as well.
|
|
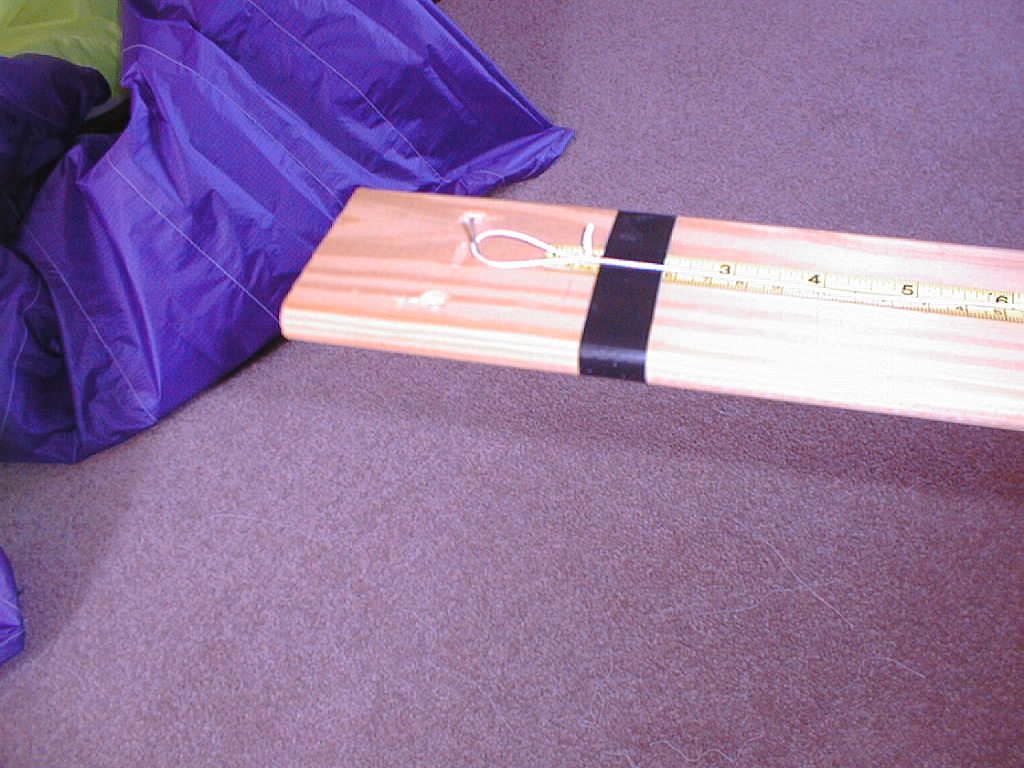
My bridle board is a piece of wood nearly 5 feet long. I bought a cheap metal tape measure, cut the end off and taped it to the board. I put a panel pin in the board at 'zero' and started the tape about 1 inch from that. |
|
|
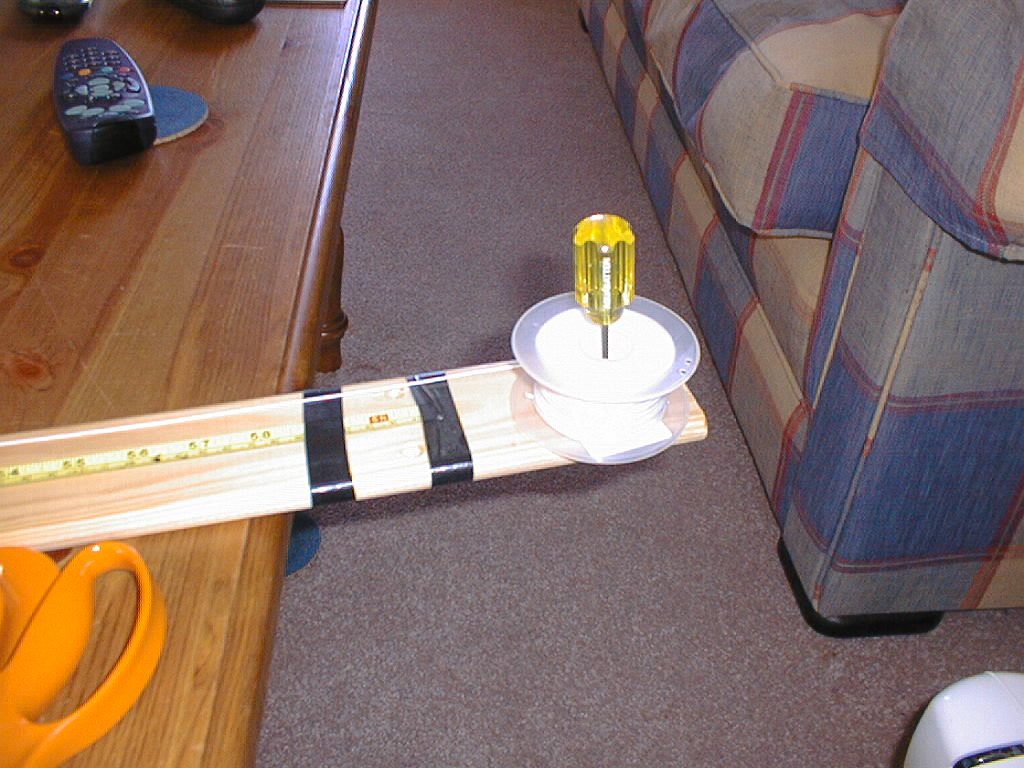
I sometimes use 100m reels of bridle line and spike them to the far end of the board for ease of use (otherwise they fall on the floor and roll away!). |
|
|
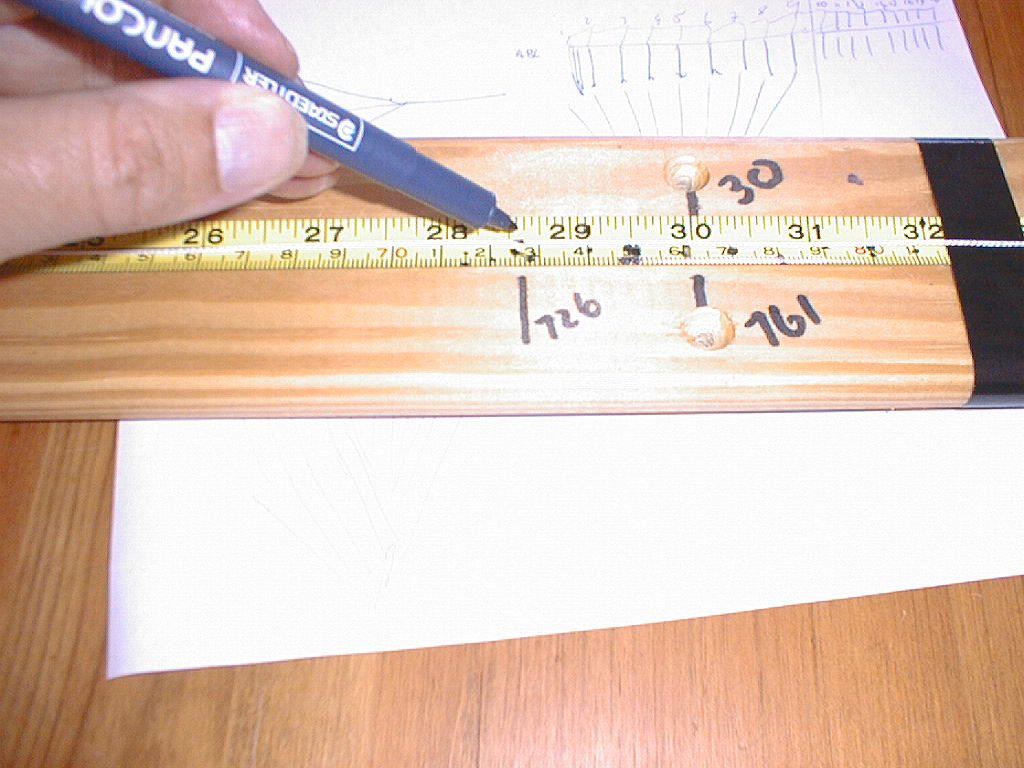
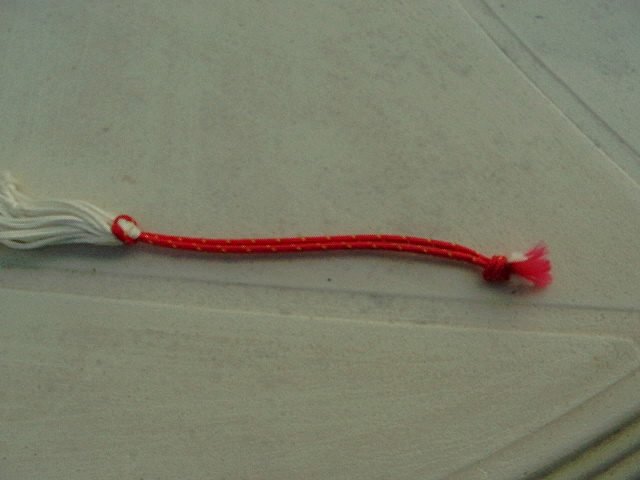
I tie my loop in the end of the bridle (see pic 1) then pull the line taught and mark the length with a permanent marker pen. This obviously is not accurate to the nearest 0.1mm, but I've not yet had a problem with any of the bridles I've built using this method. (and my sewing isn't that accurate either!) |
|
|
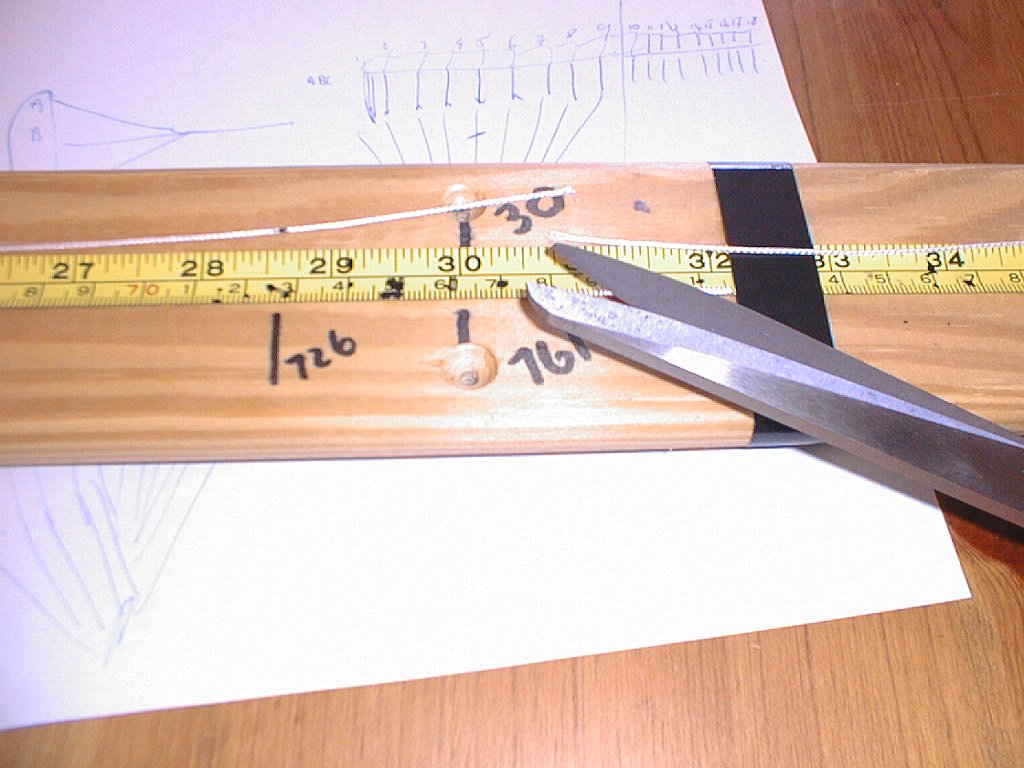
I allow about 5cm past my mark then cut the line whilst keeping it taught. If this end is to also have a loop in it, I add an extra 1cm for the knot and then mark. The '30' marked on the board is lined up with the '30 inches' on the tape as a check to ensure the tape has not slipped. The other numbers are for when I have a whole batch of the same length to make, usually for Eliminators. |
|
|
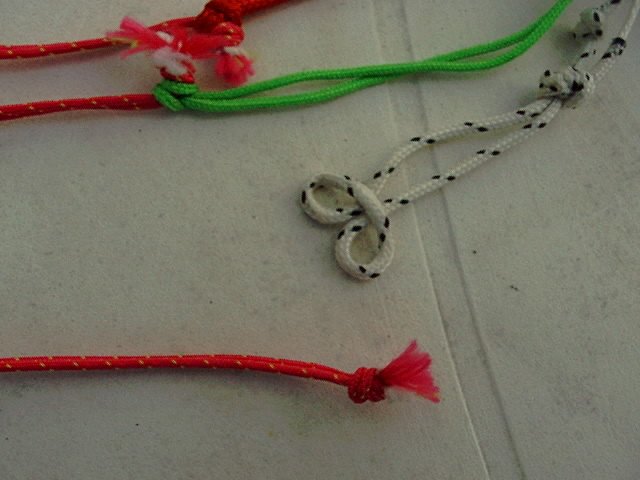
The loops from the secondaries are all attached to the flying points (the loops of pink line). |
|
|
Make a larks head loop in the sleeved end of your flying line. |
|
|
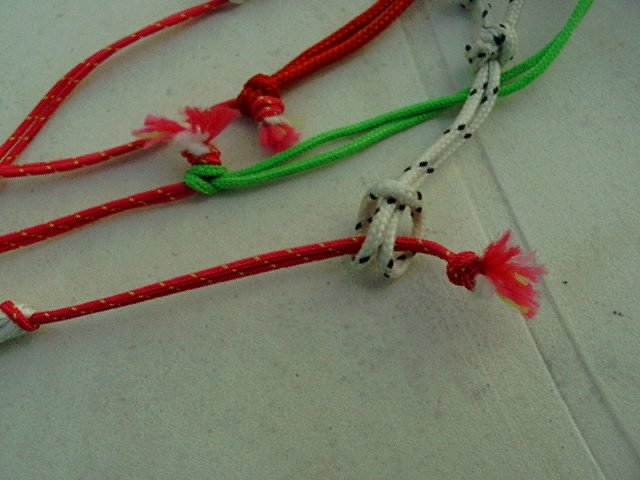
Put the larks head over the knot in the end of the flying point loop. |
|
|
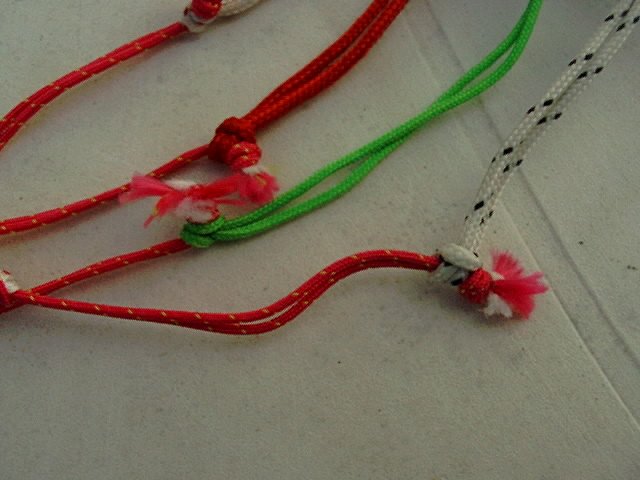
Pull the larks head tight, repeat for the other lines.
Use the same system to attach the flying lines to the handles.
Go fly! |