
Gamma build help
|
|
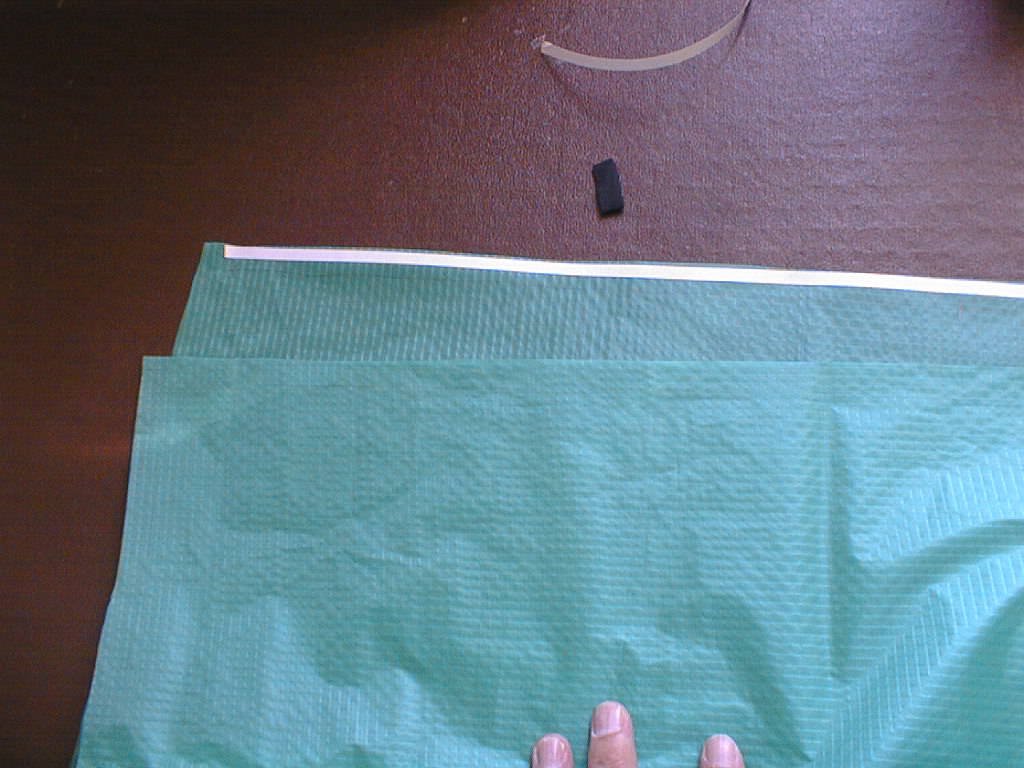
2 bottom skin panels, with seam allowance lines drawn on, and the bridle attachment points marked. They are face to face with 6mm double-sided tape attached to one piece. The bridle point is a piece of webbing folded over. |
|
|
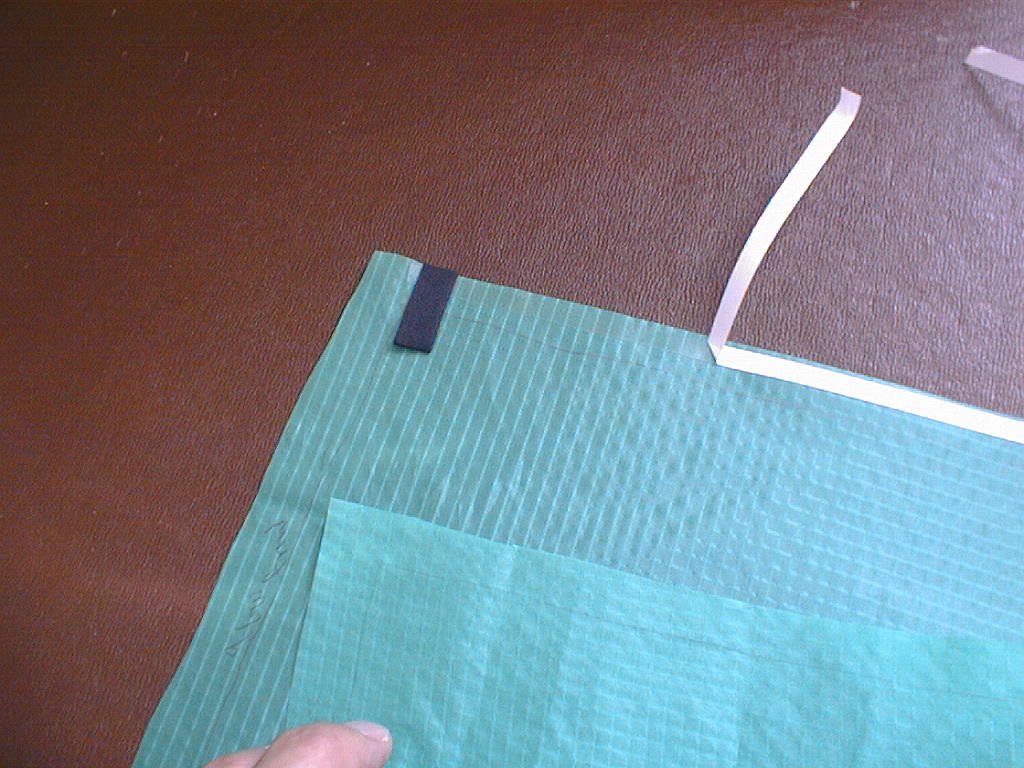
Peel off the backing tape to expose the sticky tape. Stick the bridle point in position. Don't forget which is the outside of the kite! |
|
|
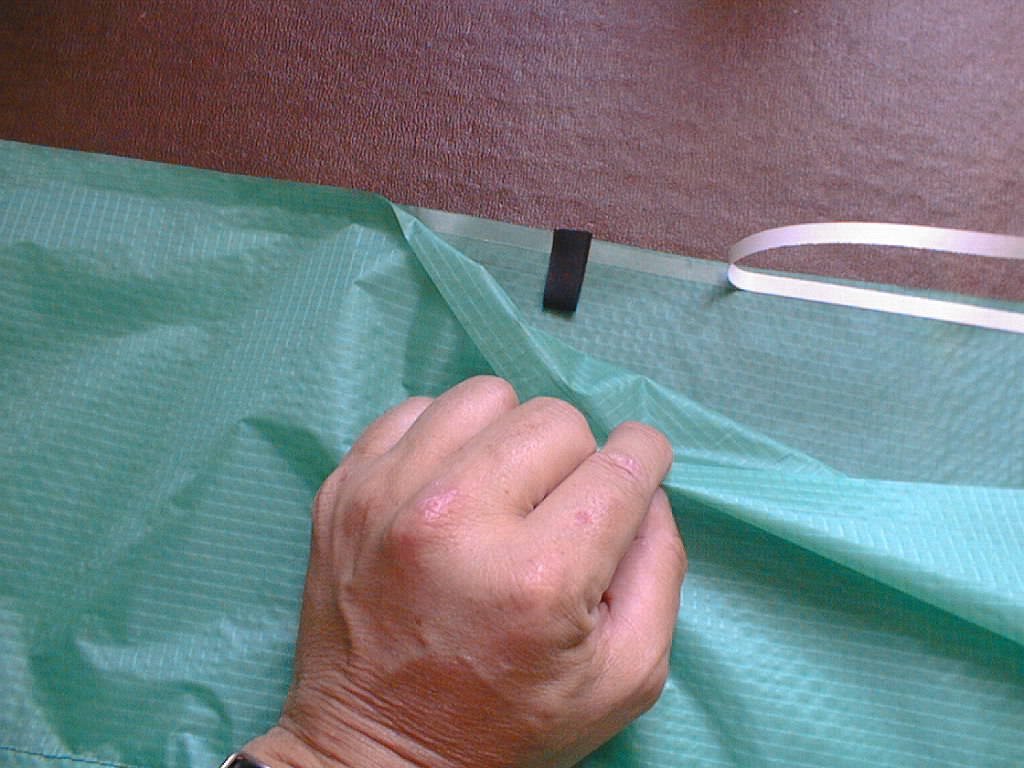
Stick the other bottom skin panel onto the sticky tape. Peel more backing tape off and continue sticking the bottom skin panels together. Only do a bit at a time, and if you get creases, pull the fabric apart and redo it. |
|
|
When you get to the next bridle attachment point, peel off the backing tape and stick down the bridling point. |
|
|
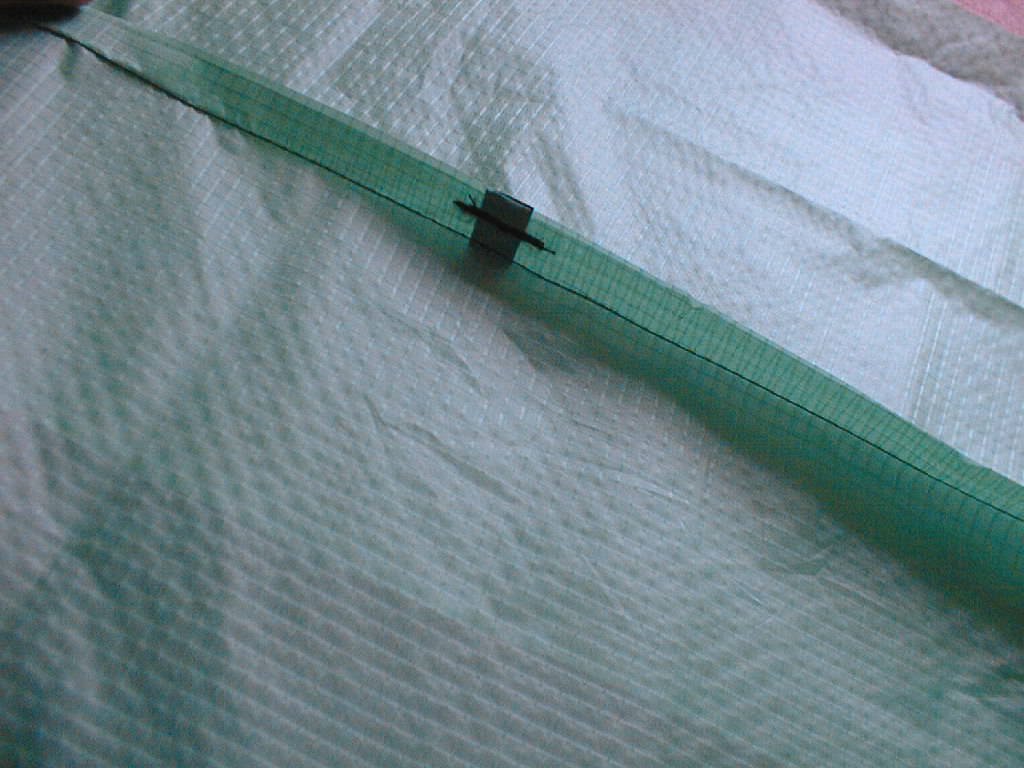
When you have stuck all three bridle points on (dont attach the brake bridle point yet, this is sewn in when you form the closure at the trailing edge), sew along your sewing line to join the panels. Then go to each bridle point and sew over it to strengthen the attachment. |
|
|
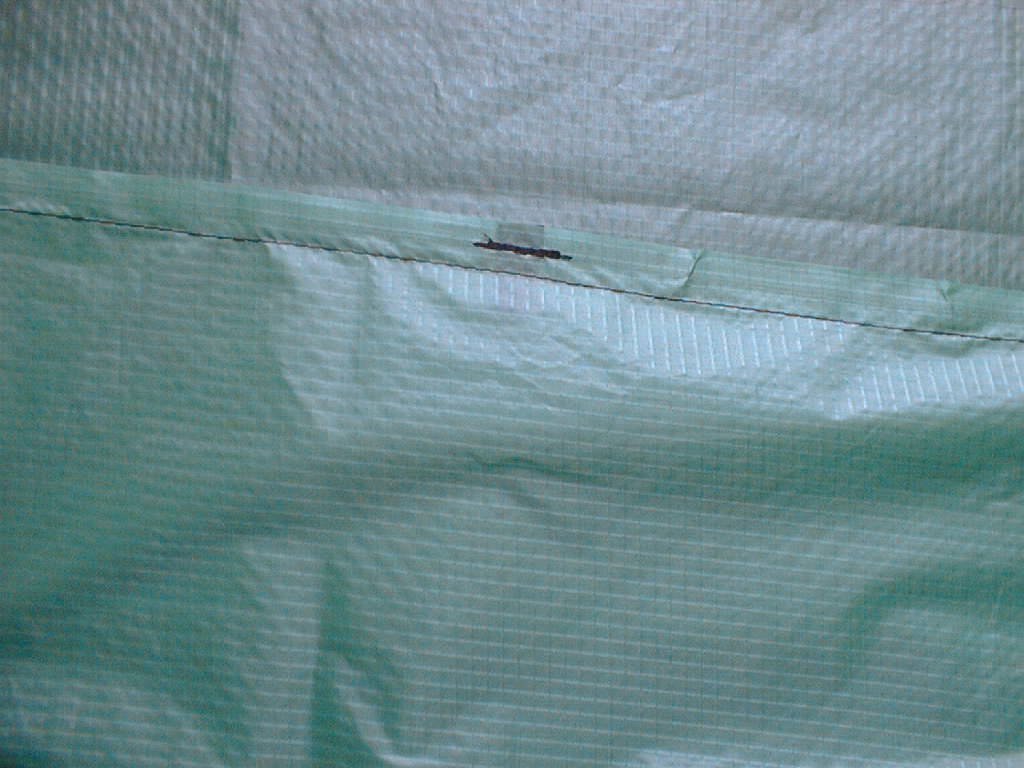
This is a view of the inside of the kite, showing the bridle attachment point sewn in. The loop where the bridle attaches is sticking out underneath. |
|
|
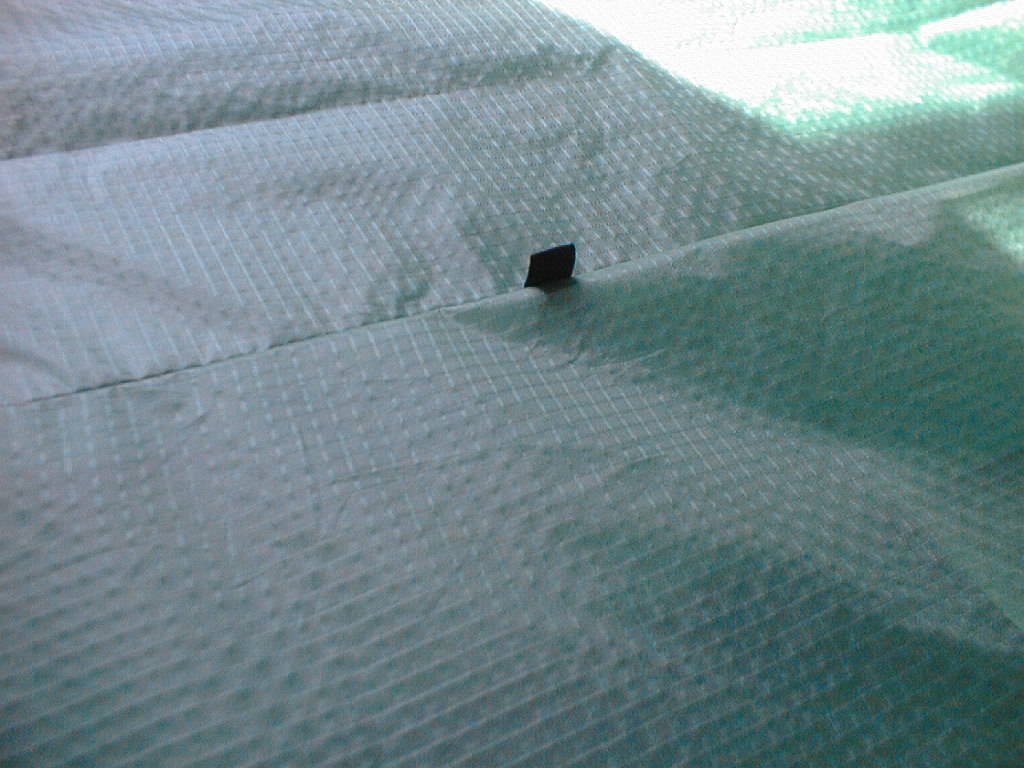
The bottom of the kite, 2 panels sewn together, with a bridle attachment point showing. It is the other side of the picture above. |